SERVICE
Resources available on any device.
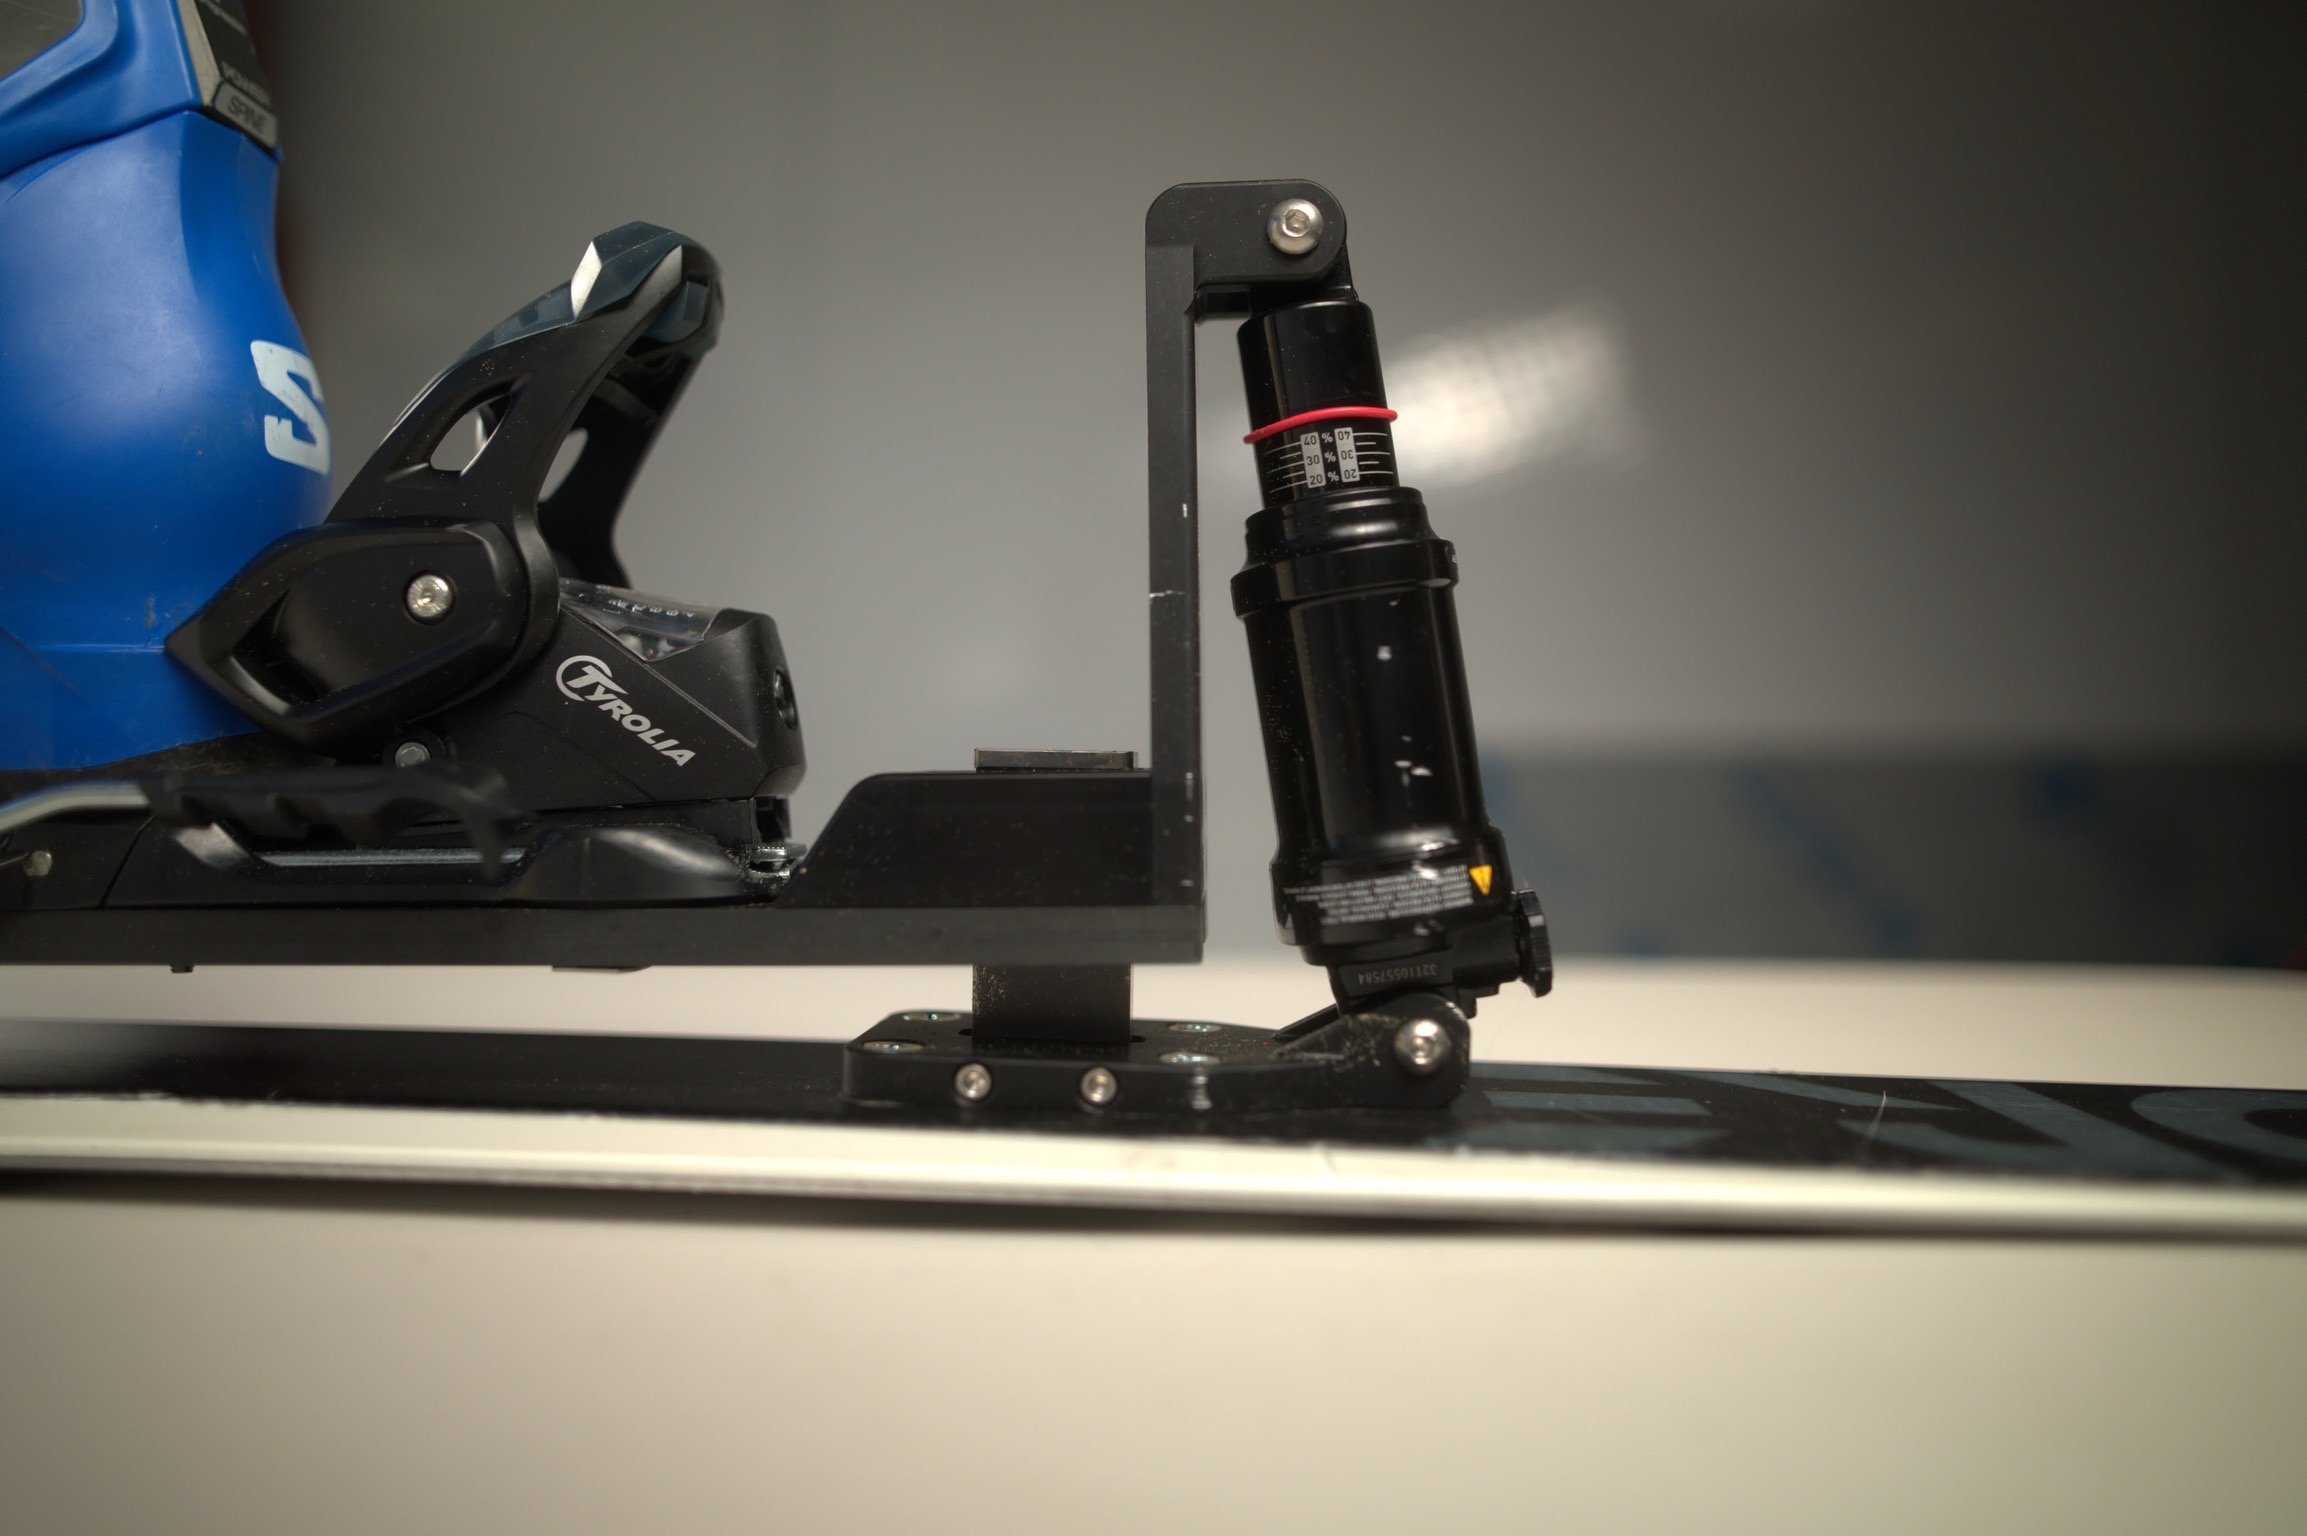
SETTING SHOCK PRESSURES
The SHREDSHOX give you the ability to customize your ride. Below is a quick how to video on how to establish your starting pint with your shock pressures and dampening preferences.
SHOCK PRESSURE (PSI) GUIDE

-
Your pressure settings are based off of a 30% sag measurement when you stand on your skis. From there you can customize based on your skiing time.
-
Using the round dial on each shock, you can set your rebound settings. There are 10 clicks. We recommend starting at click 5.
-
Based on your skiier type and your riding preferences you can increase or decrease the PSI on your shocks or you can increase or decrease the round settings. Ski hard, jump or fast, increase pressure, if chatter increases or its choppy and hard packed, slow down your rebound.
INSTALLATION
The SHREDSHOX comes with a installation manual and the necessary and templates for anyone comfortable with accessible tools can install. Installation time is approximately 40 minutes.
SHREDSHOX Installation Guide
Parts:
Shocks (2 per ski)
High-performance shocks for optimized ski performance.
Shock Towers (2 per ski)
Durable towers to support and stabilize the shocks.
Carbon Plate (2 per ski)
Lightweight and strong carbon fiber plates for mounting the bindings and shock towers.
Hardware
Assorted screws, nuts, and bolts required for assembly.
Includes threadlocker and reducing bushings.
Installation Template
Precision template for accurate mounting and alignment of components.
Step 1: Preparing for Installation
Start with a bare ski.
Remove existing bindings if necessary.
Fill holes as recommended by the ski manufacturer.
Step 2: Mounting the Base Plates
Tools and Parts Needed:
Jig or template
Wood glue
Drill with 1/8” drill bit and depth stop
Phillips head screwdriver
Front and back baseplates (one of each per ski)
Locate the Center:
Use the NLP jig/template to locate the center of the platform relative to the factory ski markings.
Mark Holes:
Using a punch, make dimples in all hole locations.
Drill Pilot Holes:
Using a 1/8” drill bit and a drill bit depth stop, make pilot holes for mounting screws. Ensure the depth does not penetrate the bottom of the ski.
Note: The front base plate has two slots for the guide pins, and the rear base plate has a single slot for the rear guide bar.
Clean and Glue:
Clean all dust and debris from drilled holes.
Using an ample amount of waterproof wood glue (e.g., ROO GLUE or comparable), fill all screw holes.
Attach Base Plates:
Use the provided screws to attach the front and rear base plates. Ensure the holes for the shocks point towards the front and rear tips of the skis, respectively.
Allow the glue manufacturer’s recommended cure time before using the product in ANY manner.
Hand tightening is recommended to avoid over-tightening and stripping the screw holes.
Clean excess glue with a rag and water.
Step 3: Mounting Your Bindings to the Platform
Tools and Parts Needed:
Drill press
1/8”
17/64” and countersink drill bits
10-32 Allen bolts (length TBD) 8 per set of bindings
Mounting nuts (8 per set of bindings)
1/8” Allen socket and torque wrench
Threadlocker
Mark Binding Locations:
Using a binding template (supplied by the binding manufacturer), mark the carbon fiber with a punch so that the boot center is in the center of the platform's overall length. Mark hole locations.
Drill Holes:
Use a drill press to ensure straight holes in the carbon fiber.
Using a 1/8” drill bit in the drill press, drill pilot holes in marked locations. Then, using a 17/64” drill bit, open holes to final size.
Using a 1/2” x 82-degree countersink, carefully deburr both sides of all drilled holes.
Prepare Screws:
Once the platform is ready, get the binding mounting nuts and the correct length screws to ensure proper thread engagement.
Test fit a bolt to ensure FULL thread engagement into the flange nut before proceeding.
Apply Threadlocker:
Apply thread-locking compound to all the screws, covering the entire length of the threads.
Install screws through binding mounting holes and the platform.
Tighten Screws:
Insert a flange nut into the hole underneath the screw you are working with and tighten to 33 in. lbs.
Step 4: Assembling the Shock Towers
Tools and Parts Needed:
5/32” Allen socket and torque wrench
Threadlocker
Front and rear shock towers (one of each per ski)
Front and rear guide blocks (one of each per ski)
10-32 x 3/4” Allen screws (4 each per shock tower)
Prepare Parts:
Remove the shock towers, shock tower guide blocks, and the 10-32 x 3/4” Allen bolts from the bags.
Apply Threadlocker:
Using the provided thread-locking compound, apply a thin stripe to each Allen bolt, ensuring to coat at least half the length of the threads.
Assemble Shock Towers:
Take a shock tower and the matching guide block and bolt them together. On the rear assembly, ensure the wear block is fully inserted before final torquing.
Once snug and ensuring the two parts are flush on the bottom, torque each screw to 33 in. lbs in a crisscross pattern.
Step 5: Mounting the Shock Towers to the Platform
Tools and Parts Needed:
5/32” Allen socket and torque wrench
Threadlocker
1/4-20 x 7/8” countersunk Allen bolts (7 per ski)
Prepare Screws:
Locate and remove the 1/4-20 x 7/8” countersunk Allen bolts.
Apply threadlocker on the entire length of the screws.
Mount Shock Towers:
Line up the assembled shock tower to the holes in the carbon fiber, insert screws, and tighten to 75 in. lbs.
Step 6: Mating the Platform with the Base Plates
Tools and Parts Needed:
3/32 and 9/64 Allen sockets and torque wrench,
Threadlocker
Two guide pins and one guide block (per ski)
Prepare Parts:
Locate and remove two guide pins and one guide block (per ski) and associated hardware from the box.
Apply Threadlocker:
Apply threadlocker on the 2 guide pin bolt threads (ensuring to apply to the threads only, not on the shoulder of the bolt) and the 3 guide block bolts on at least half the length of the threads.
Assemble Guide Pins and Blocks:
Slide the pin through the holes in the adapter block and into the base plate.
Align the hole in the pin with the hole in the base plate and insert a guide pin bolt. Leave all screws and bolts hand tight until all guide pins and guide block bolts are installed.
Slip the guide block into the slot in the rear shock tower assembly. Start the 3 screws and hand snug.
Once all bolts are installed, torque all screws to 33 in. lbs.
Run the platform up and down on the guides to ensure easy range of motion. If the platform binds, ensure the guide block is sitting square in the slot and adjust accordingly.
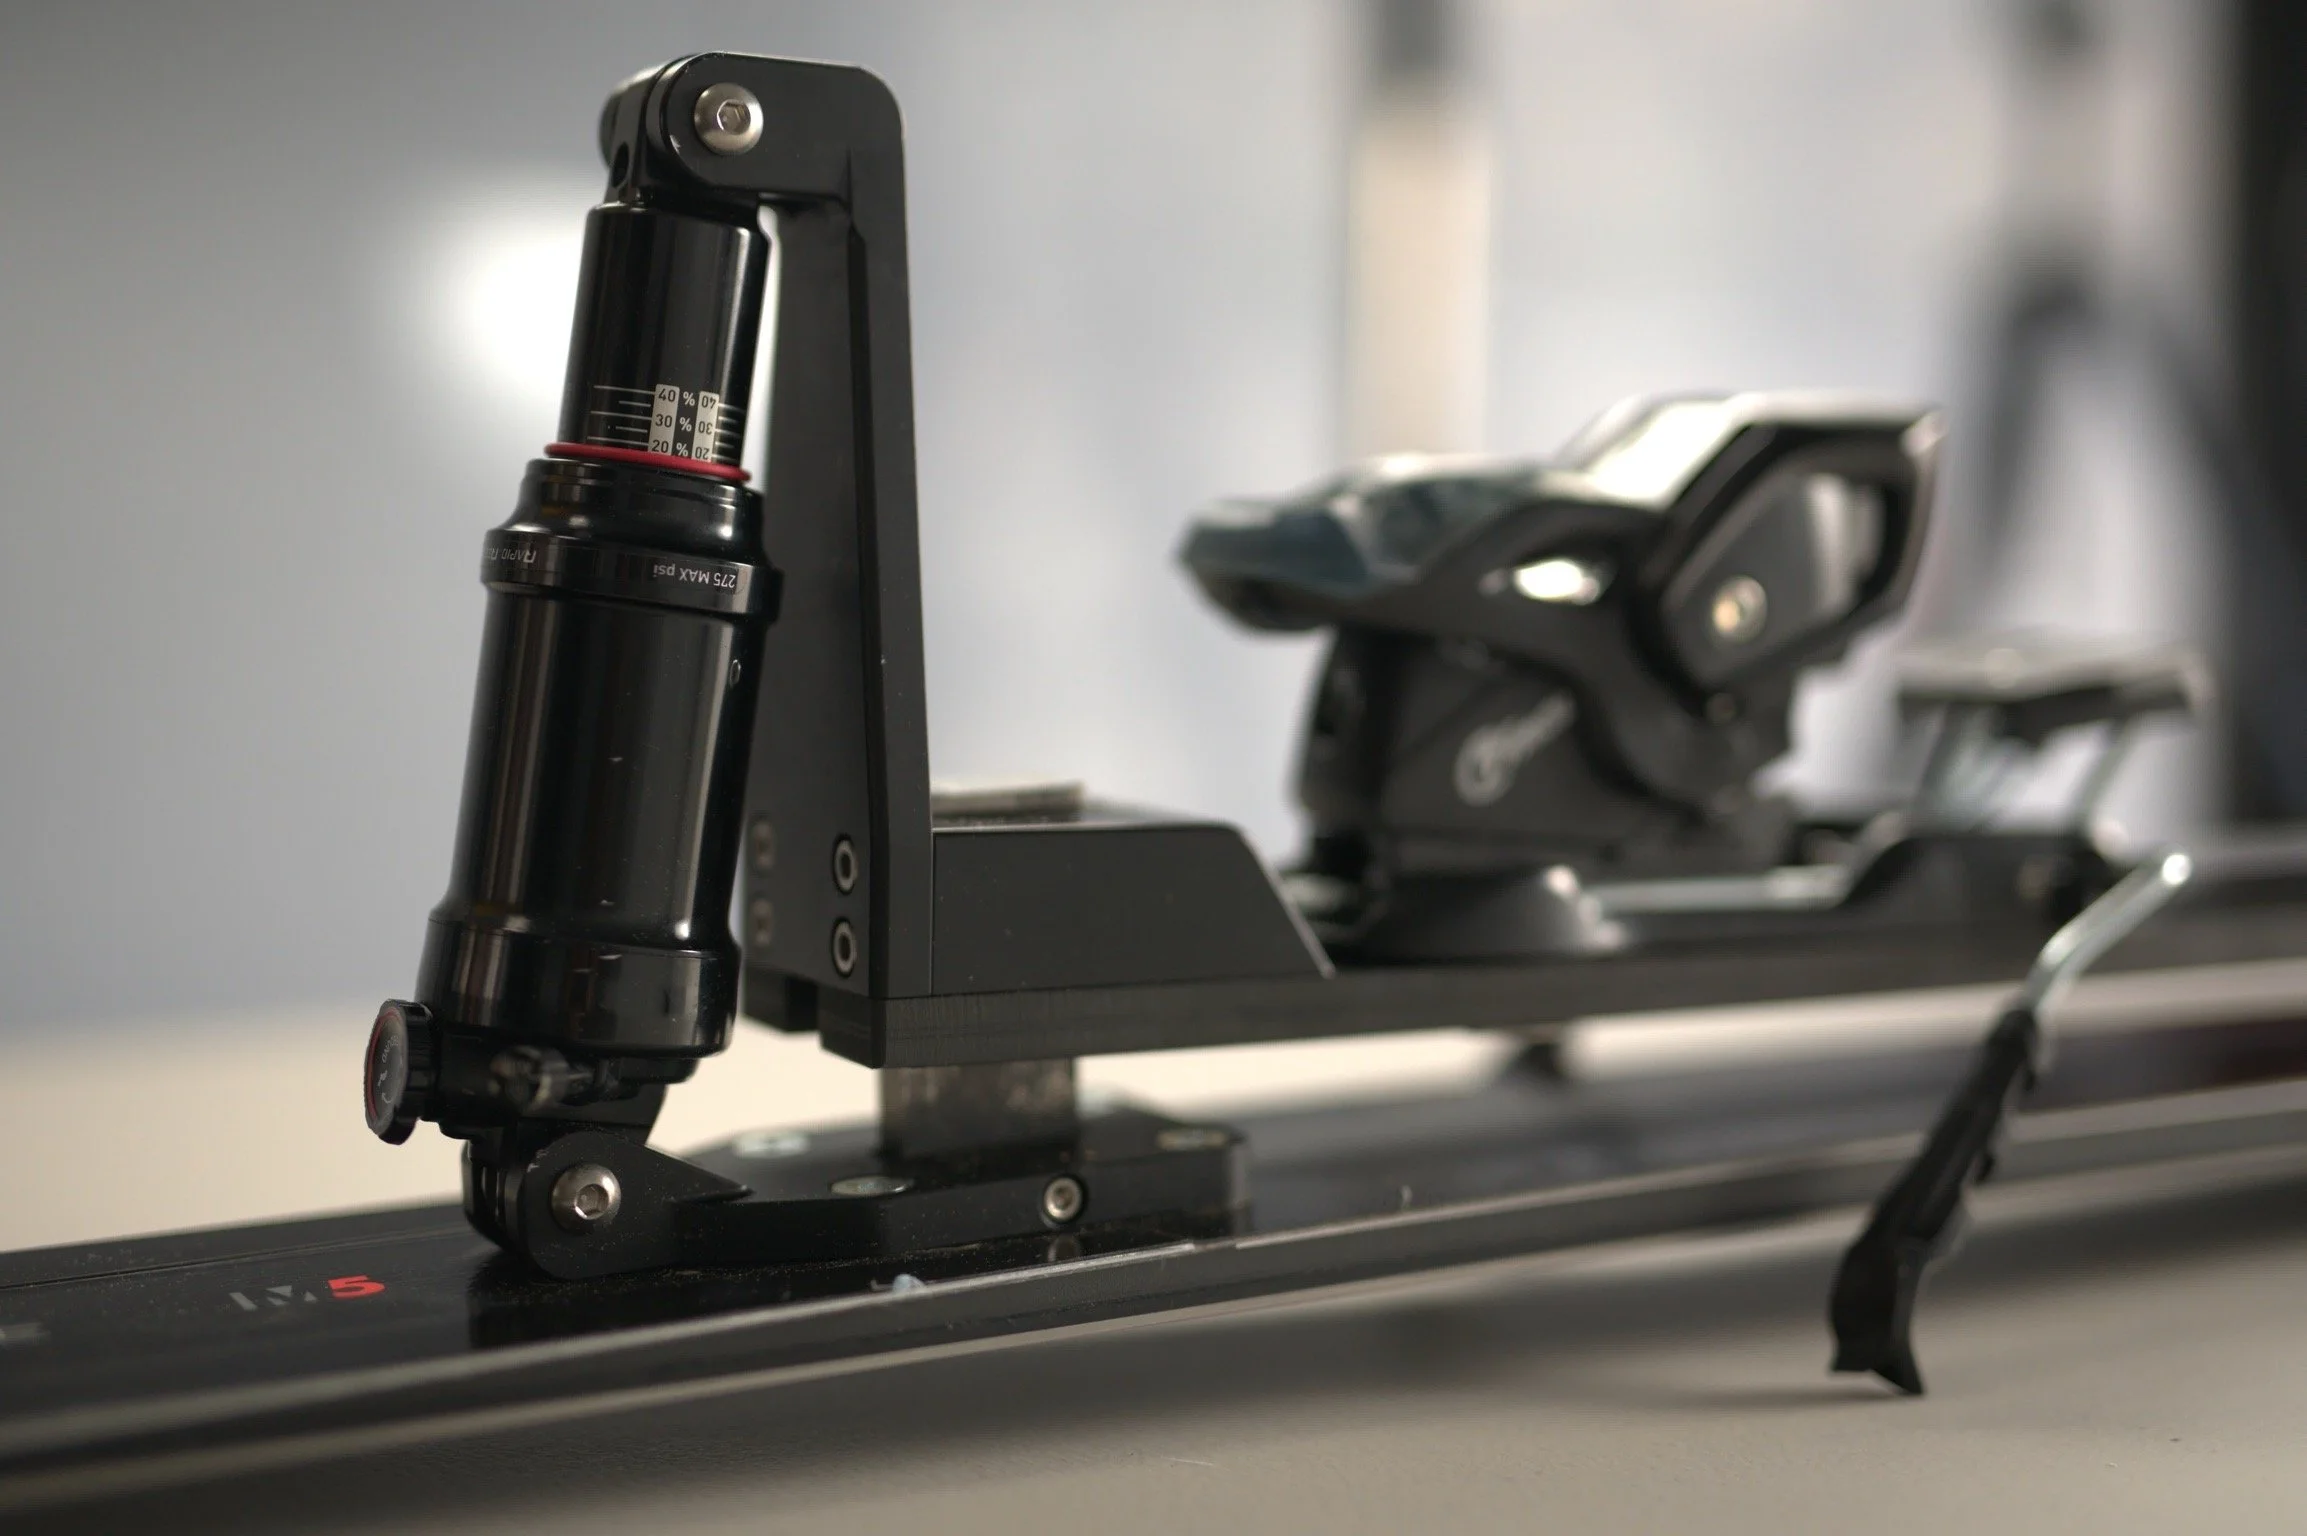
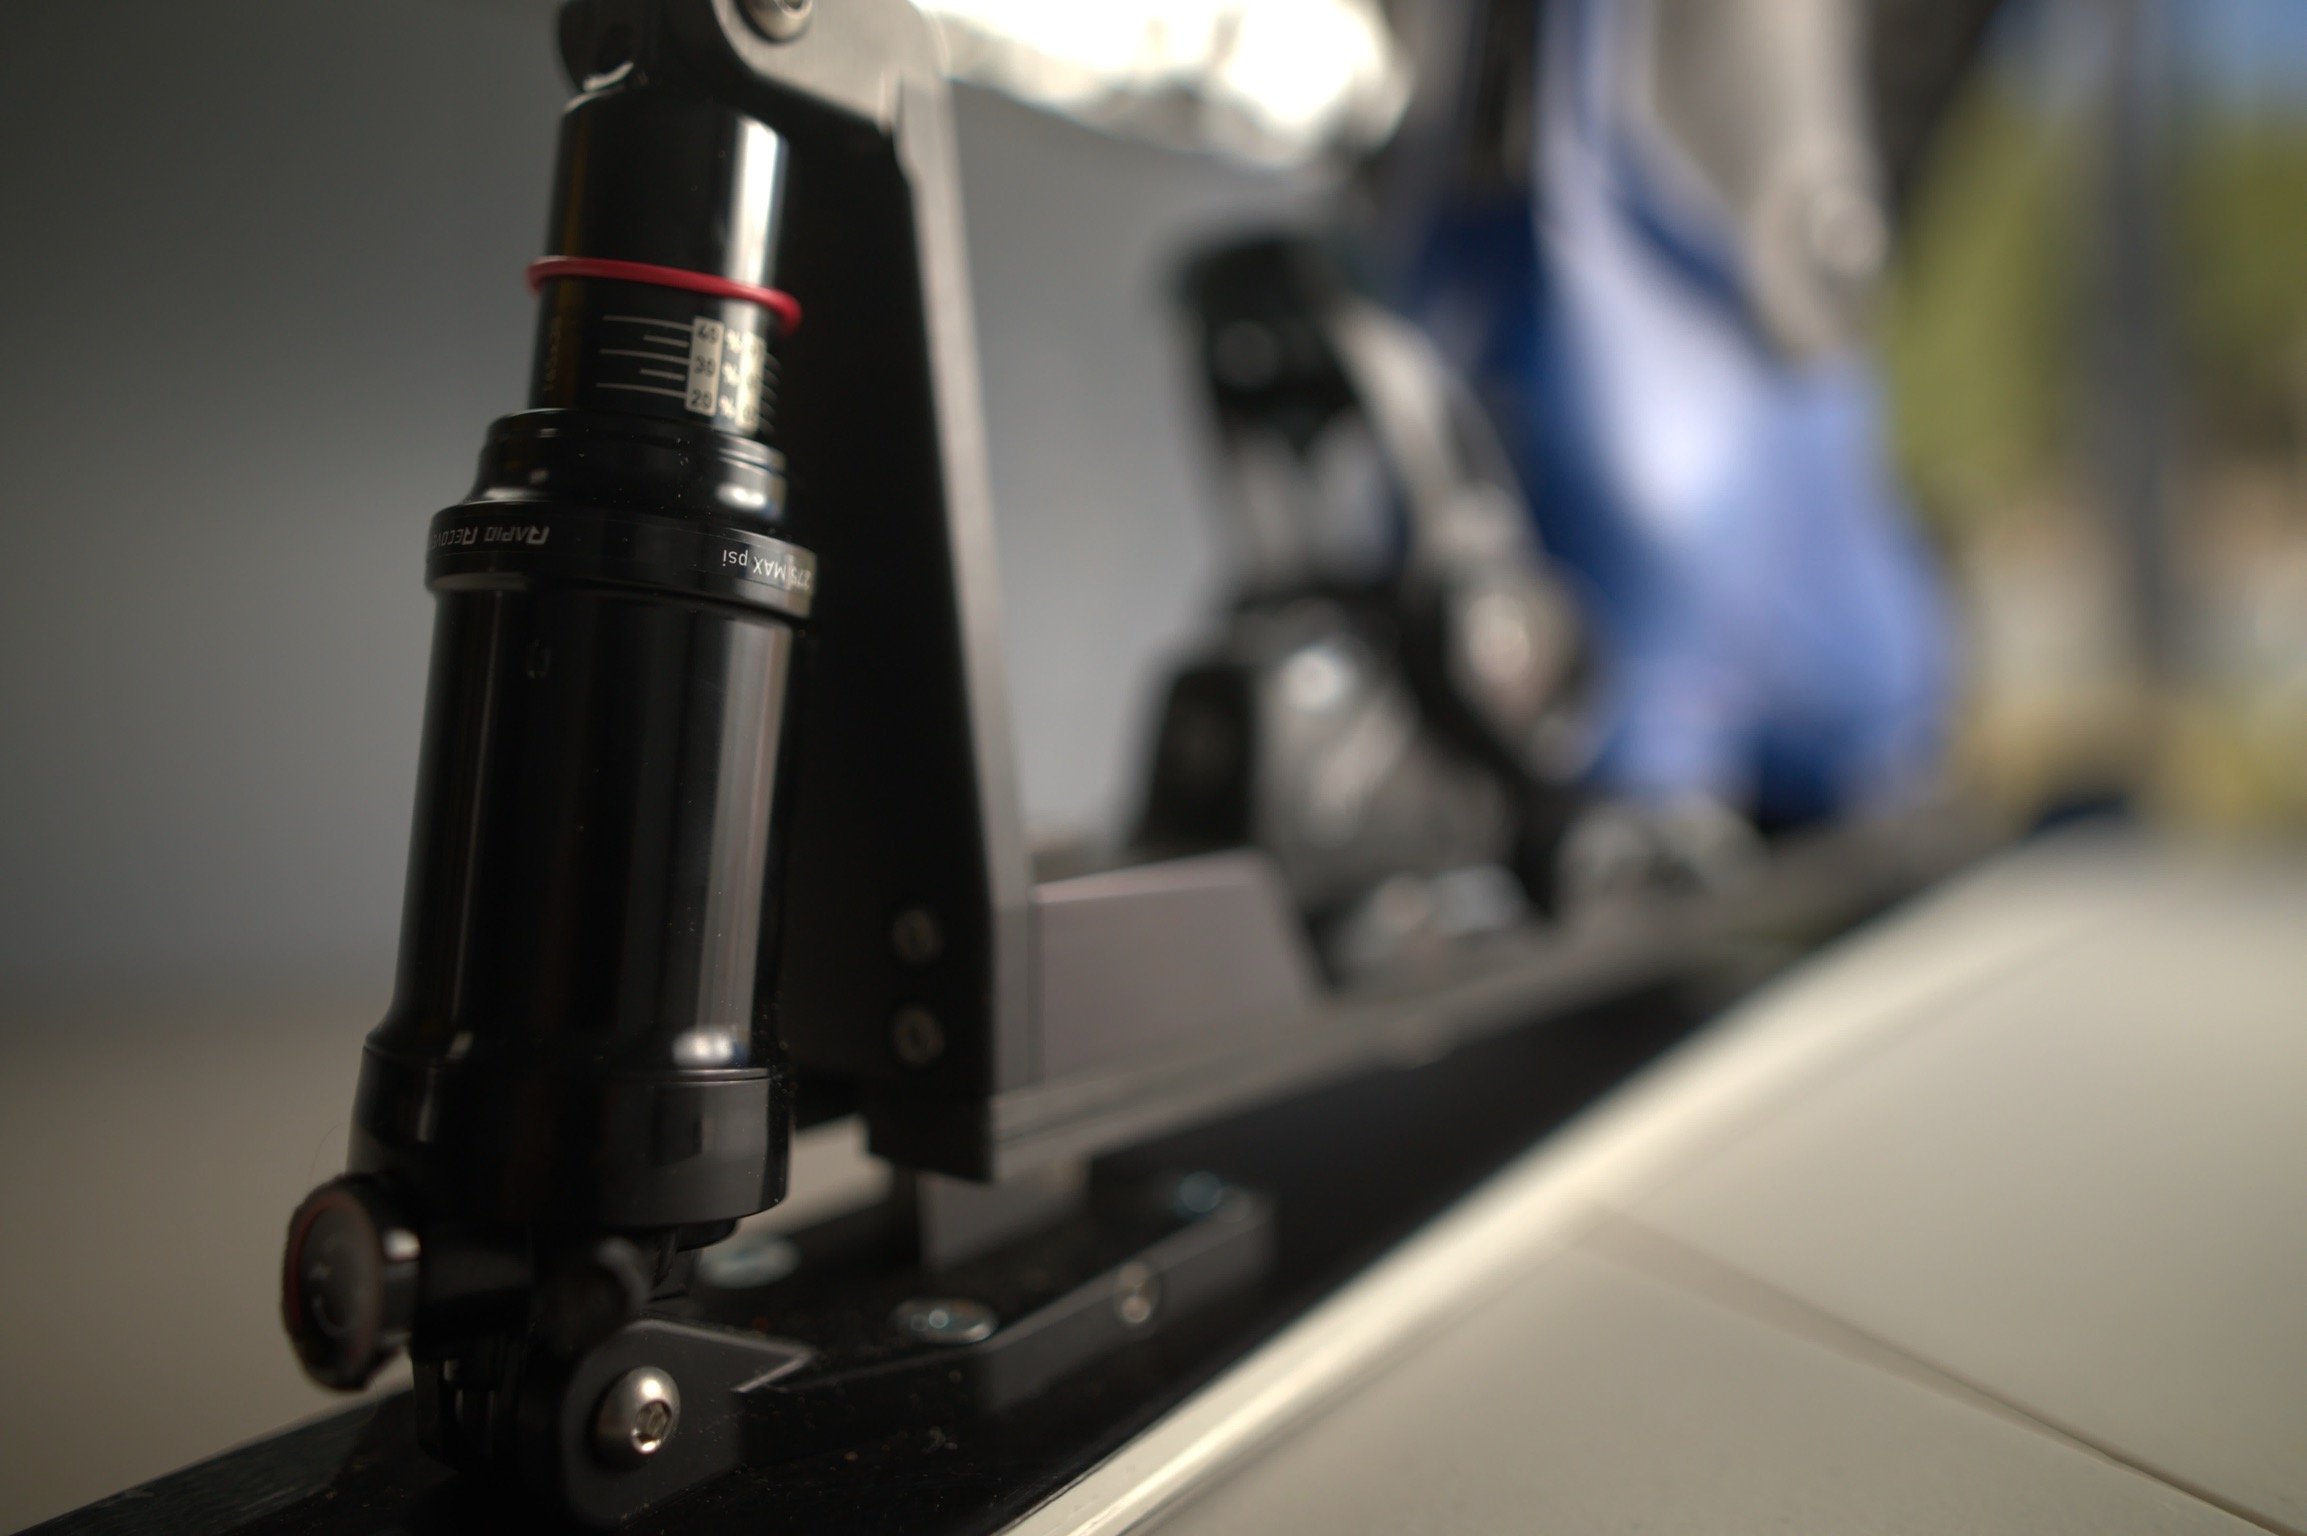
Step 7: Installing the Shocks
Tools and Parts Needed:
5/32 Allen wrench
5/32 Allen socket
and torque wrench
Threadlocker
Shock eye reducing bushings (4 per shock)
Through nut and bolts (2 per shock)
Prepare Parts:
Remove (2) two shocks and the hardware kit from the box.
You will need 8 shock reducing inserts, 4 through nuts, and 4 1/4-20 x 3/8” button head Allen bolts per ski.
Coat all 1/4-20 bolts with the provided threadlocker and set aside.
Install Shock Inserts:
Install all reducing inserts into the shock eyelets.
Mount Lower Shock:
Slide the shock into the lower base plate with the rebound adjuster facing out and install the through nut and bolt.
Adjust Rebound:
Turn the rebound adjustment clockwise to full stiff for ease of installation of the upper through nut.
Mount Upper Shock:
Compress the shock enough to allow the upper through nut to slide through the shock tower and the shock. Install the 1/4-20 bolt.
Repeat these steps for the opposite side of the platform. Torque all shock nuts and bolts to 95 in. lbs.
Step 8: Setting the Air Pressure for Shock Sag
Tools Needed:
High-pressure shock pump
Prepare for Adjustment:
Put on your boots, and do this on a rug or carpet to minimize the chance of the ski slipping out from under you.
Set Travel Indicators:
Before locking in, make sure the travel indicating O-rings are all the way down to measure sag location.
Lock Into Bindings:
Once your boots are on and strapped, CAREFULLY lock into your bindings.
Reach down and reset the sag indicators to the fully downward position.
Check Sag:
If you are in the 30% sag indicator range, that will be a good starting position.
Release the skis and take your boots back off if desired. Place the skis on the bench and ensure the pressures are even front to back. This will give you a smooth, comfortable starting setting.
Take a run or two and adjust your air setting to your specific skiing style and slope conditions.
Adjust Rebound Settings:
For rebound settings, start (4) four clicks out from full stiff. Adjust depending on your skiing ability and snow conditions.
TIP: Keep track of your shock pressure settings so you won't need to dial in your sag frequently. You can simply top off your shock pressures as needed before hitting the mountain.
Note: The shock should be set no lower than 50 PSI at any time when fully extended.